
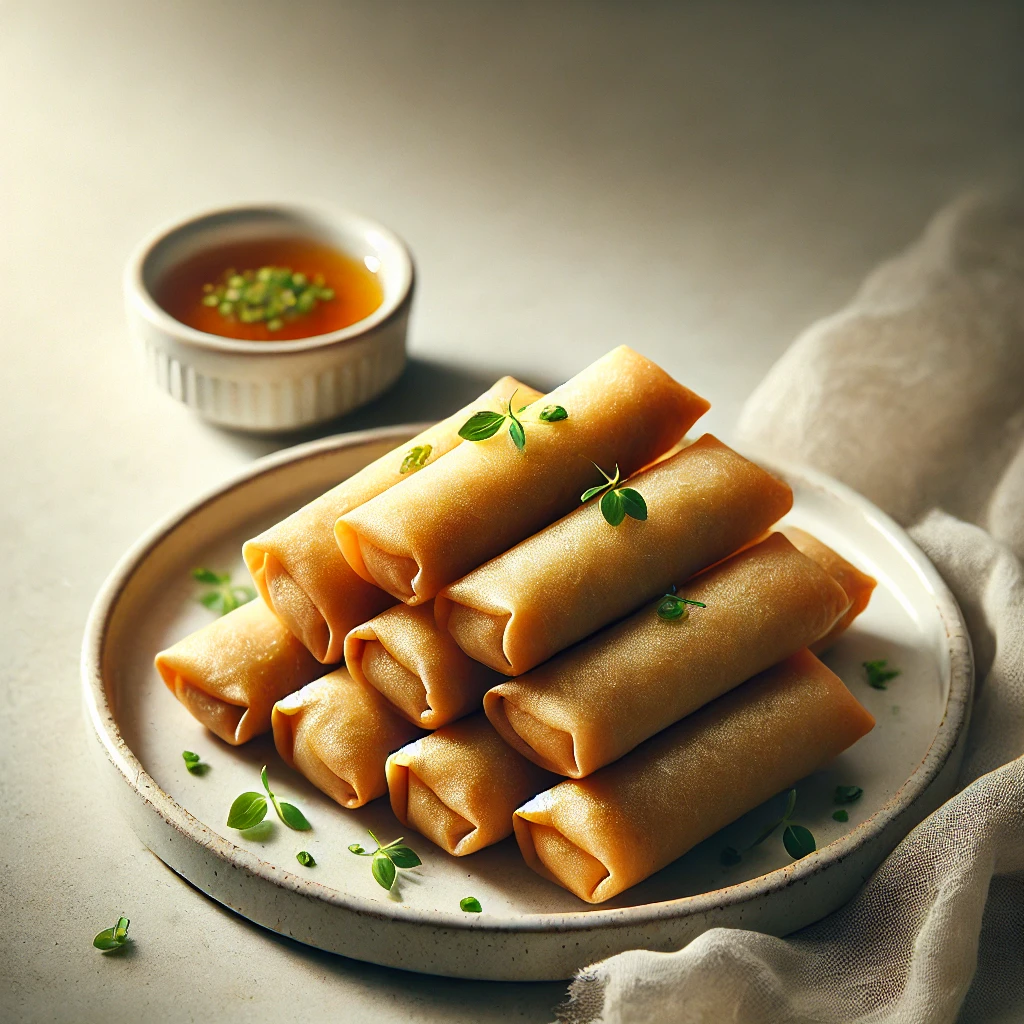
Have you ever bitten into a crispy, golden-brown roll and felt the satisfying crunch give way to a burst of savory flavors? If you haven’t experienced the joy of eating lumpia, you’re in for a treat. These Filipino spring rolls are not just a dish; they’re a cultural phenomenon that has captured hearts and taste buds around the world.
Lumpia, with its crispy exterior and flavorful filling, is a testament to the rich culinary heritage of the Philippines. This versatile dish can be found at family gatherings, street food stalls, and high-end restaurants alike. What makes lumpia truly special is its ability to adapt to various tastes and dietary preferences. Whether you’re a meat lover, a vegetarian, or somewhere in between, there’s a lumpia recipe that’s perfect for you.
In this blog post, we’ll explore the world of lumpia, from its traditional roots to modern variations. We’ll dive into a classic recipe that’s sure to become a staple in your kitchen, and we’ll discuss tips and tricks to help you master the art of lumpia-making. So, let’s embark on this culinary adventure and discover why lumpia has become a beloved dish far beyond the shores of the Philippines.
Recipe Ingredients
Before we dive into the cooking process, let’s gather all the ingredients we’ll need to create delicious lumpia. This recipe yields approximately 25-30 rolls, perfect for sharing with friends and family or storing for later enjoyment.
| Ingredient | Quantity |
|---|---|
| Ground pork | 1 pound |
| Carrots, finely diced | 1 cup |
| Onion, finely diced | 1 medium |
| Garlic, minced | 3 cloves |
| Green onions, chopped | 1/4 cup |
| Soy sauce | 2 tablespoons |
| Salt | 1 teaspoon |
| Black pepper | 1/2 teaspoon |
| Lumpia wrappers | 1 package (25-30 pieces) |
| Vegetable oil for frying | As needed |
| Water for sealing | Small bowl |
Optional ingredients for serving:
- Sweet chili sauce
- Vinegar dipping sauce
Ingredient substitutions:
- For a vegetarian version, replace ground pork with finely chopped mushrooms, tofu, or textured vegetable protein.
- If lumpia wrappers are unavailable, spring roll wrappers can be used as a substitute.
- For a lower-fat option, ground chicken or turkey can replace ground pork.
Recipe Instructions
Now that we have all our ingredients ready, let’s walk through the step-by-step process of creating these delicious Filipino spring rolls. Remember, practice makes perfect, so don’t worry if your first few rolls aren’t picture-perfect – they’ll still taste amazing!
- Prepare the filling:
In a large mixing bowl, combine the ground pork, diced carrots, onion, minced garlic, and chopped green onions. Add the soy sauce, salt, and black pepper. Mix thoroughly until all ingredients are well combined. - Set up your rolling station:
Clear a clean, flat surface in your kitchen. Place the bowl of filling, a small bowl of water for sealing the wrappers, and a plate or tray for the finished rolls within easy reach. - Fill and roll the lumpia:
- Take one lumpia wrapper and place it on your work surface with a corner pointing towards you, like a diamond.
- Spoon about 2 tablespoons of the filling onto the lower third of the wrapper, shaping it into a horizontal line.
- Fold the bottom corner over the filling, then fold in the sides to create an envelope shape.
- Roll the wrapper tightly away from you, similar to rolling a burrito.
- When you reach the top corner, dip your finger in water and moisten the edge to seal the roll.
- Place the finished roll seam-side down on your prepared plate or tray.
- Repeat this process until all the filling is used.
- Prepare for frying:
Heat about 2 inches of vegetable oil in a deep, heavy-bottomed pot or wok over medium-high heat. The oil should reach a temperature of about 350°F (175°C). If you don’t have a thermometer, you can test the oil by dropping a small piece of wrapper into it – if it sizzles and rises to the surface immediately, the oil is ready. - Fry the lumpia:
- Carefully place 4-5 lumpia rolls into the hot oil, making sure not to overcrowd the pot.
- Fry for 3-4 minutes, turning occasionally, until they are golden brown and crispy on all sides.
- Remove the fried lumpia using a slotted spoon or tongs, and place them on a paper towel-lined plate to drain excess oil.
- Continue frying in batches until all the lumpia are cooked.
Serve and enjoy:
Allow the lumpia to cool slightly before serving. Cut them diagonally in half if desired, and serve with sweet chili sauce or vinegar dipping sauce on the side.
Recipe Tips & Variations
Mastering the art of lumpia-making takes practice, but with these tips and variations, you’ll be rolling like a pro in no time:
Tips for success:
- Don’t overfill the wrappers, as this can make them difficult to roll and may cause them to burst during frying.
- If you’re not planning to fry the lumpia immediately, cover the rolled lumpia with a damp cloth to prevent them from drying out.
- For a healthier option, you can bake the lumpia instead of frying. Preheat your oven to 425°F (220°C), brush the rolls lightly with oil, and bake for 15-20 minutes, turning halfway through, until golden brown and crispy.
Variations to try:
- Sweet lumpia: Fill the wrappers with a mixture of mashed ripe bananas, brown sugar, and a touch of cinnamon for a delightful dessert version.
- Seafood lumpia: Replace the ground pork with a combination of chopped shrimp and crab meat for a seafood twist.
- Vegetable lumpia: Create a medley of finely chopped vegetables like cabbage, bean sprouts, and bell peppers for a vegetarian-friendly option.
Storage instructions:
Cooked lumpia can be stored in an airtight container in the refrigerator for up to 3 days. To reheat, place them in a preheated 350°F (175°C) oven for about 10 minutes or until crispy. For longer storage, you can freeze uncooked lumpia for up to 3 months. To cook from frozen, simply fry them for a few extra minutes without thawing.
Nutritional Information
While lumpia is undeniably delicious, it’s always good to be aware of its nutritional content. Here’s an approximate breakdown of the nutritional information per serving (2 rolls) based on the recipe above:
| Nutrient | Amount |
|---|---|
| Calories | 220 |
| Total Fat | 14g |
| Saturated Fat | 3.5g |
| Cholesterol | 25mg |
| Sodium | 300mg |
| Total Carbohydrates | 18g |
| Dietary Fiber | 1g |
| Sugar | 1g |
| Protein | 8g |
Please note that these values may vary depending on the specific ingredients used and cooking methods.
As we wrap up our culinary journey through the world of lumpia, I can’t help but reflect on the first time I tasted these crispy, flavorful rolls. It was at a Filipino friend’s birthday party, and I was instantly hooked. The way the crunchy exterior gave way to the savory filling was nothing short of magical. From that day on, lumpia became a staple at my own gatherings, always met with enthusiasm and empty plates.
Now it’s your turn to experience the joy of making and sharing lumpia. Whether you stick to the traditional pork filling or experiment with vegetarian options, I guarantee that these Filipino spring rolls will become a favorite in your household. Don’t be afraid to get creative with the fillings – that’s part of the fun!
I invite you to try this recipe and share your experiences. Did you discover a new favorite filling? Did you find a trick that made rolling easier? I’d love to hear about it! Feel free to leave a comment below or share your lumpia creations on social media using the hashtag #LumpiaLove.
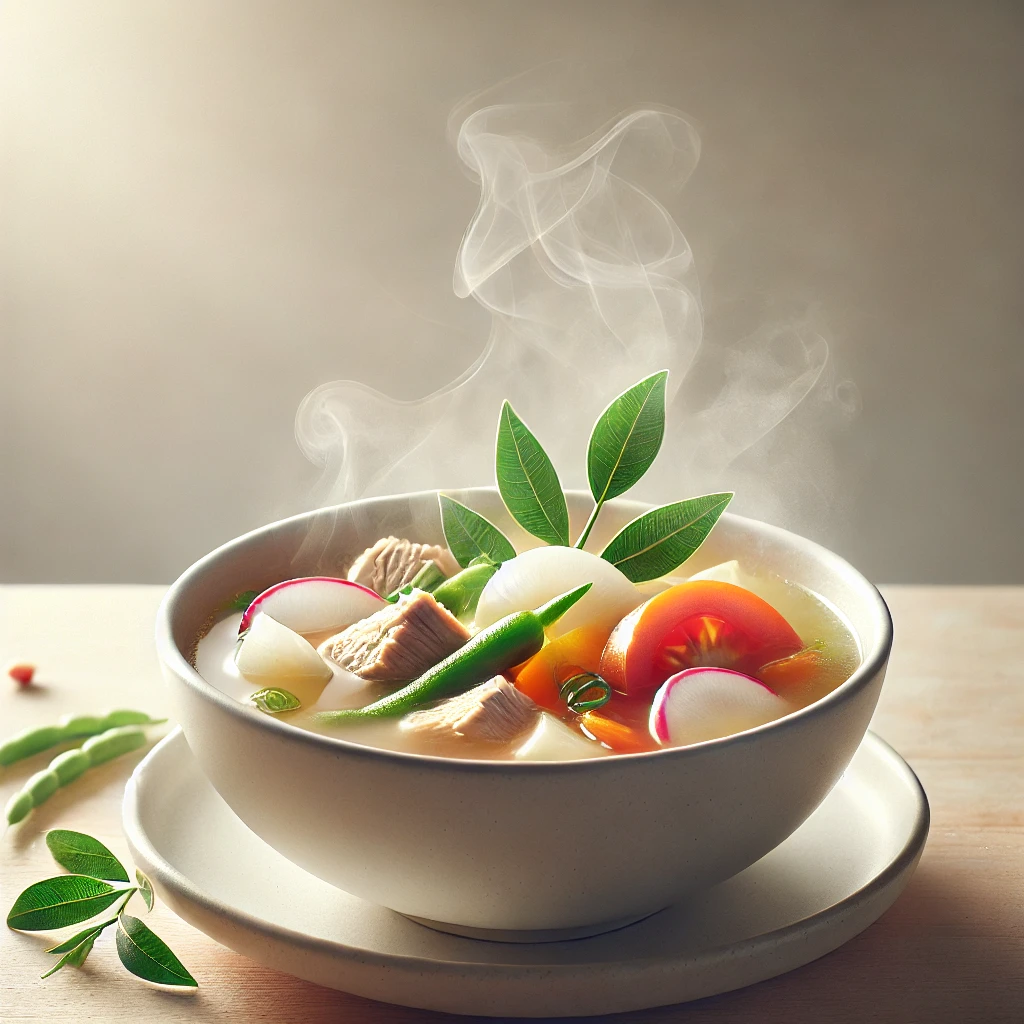
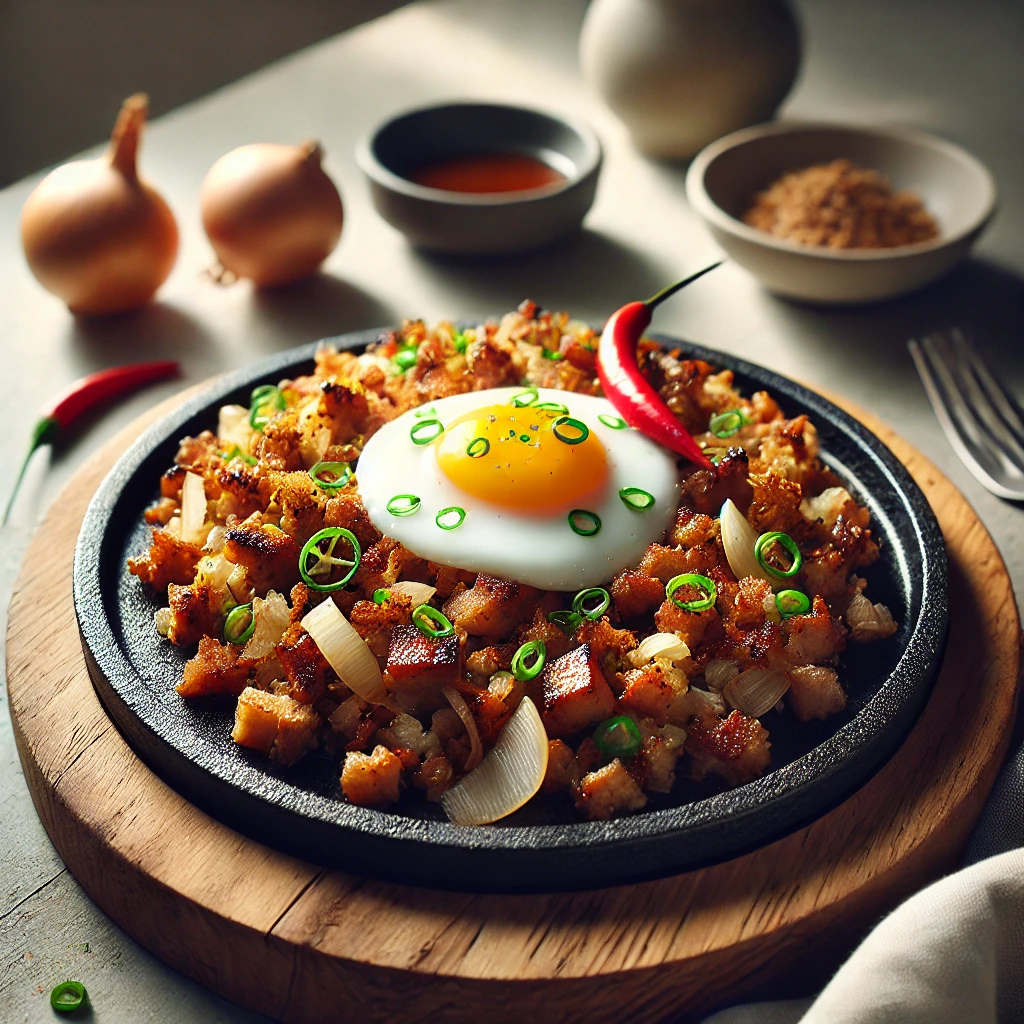
And remember, this is just the beginning of your Filipino food adventure. If you enjoyed this recipe, why not explore other classic dishes like adobo, sinigang, or pancit? The world of Filipino cuisine is rich and diverse, waiting for you to discover its flavors.
Thank you for joining me on this lumpia-making adventure. Here’s to crispy rolls, flavorful fillings, and the joy of sharing good food with the people we love. Happy cooking!
Disclaimer: This recipe blog post is based on information available up to 2019. While we strive for accuracy, culinary trends and nutritional understanding may have evolved since then. Please consult current sources for the most up-to-date information on ingredients, cooking methods, and nutritional data. If you notice any inaccuracies, please report them so we can correct them promptly.
