
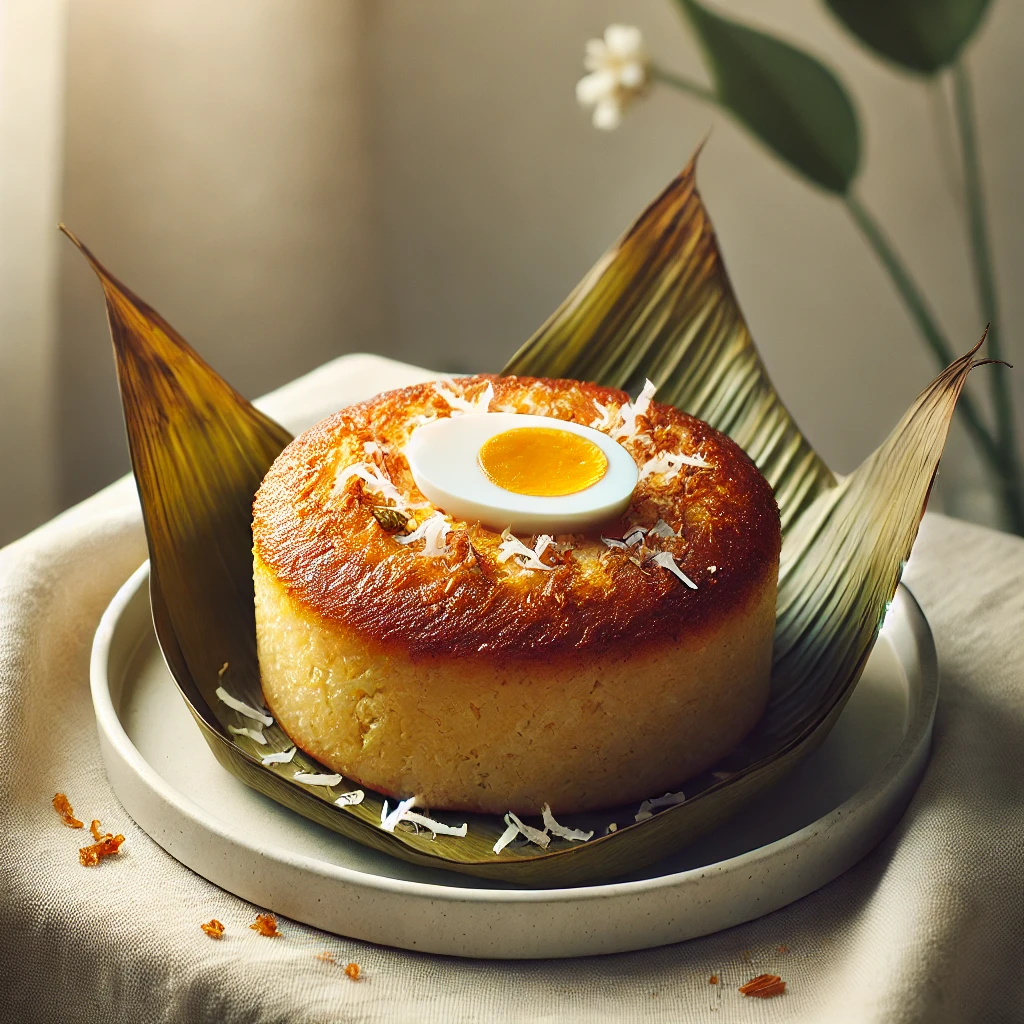
Have you ever tasted a dessert that transports you to a tropical paradise with just one bite? Enter bibingka, a beloved Filipino delicacy that’s as rich in flavor as it is in cultural significance. This enchanting rice cake, with its golden-brown crust and pillowy center, has been gracing Filipino tables for generations, especially during the festive Christmas season. Imagine the aroma of coconut and rice wafting through the air, mingling with the warmth of family gatherings and the joyous spirit of the holidays. That’s the magic of bibingka.
Bibingka isn’t just a dessert; it’s a sensory experience that encapsulates the essence of Filipino hospitality and culinary artistry. Traditionally baked in banana leaves over hot coals, this humble rice cake has evolved over time, adapting to modern kitchens while retaining its authentic charm. What sets bibingka apart is its unique texture – crispy on the outside, yet wonderfully soft and slightly gooey on the inside. It’s a testament to the ingenuity of Filipino cuisine, blending simple ingredients to create something truly extraordinary.
For those with dietary restrictions, there’s good news! This recipe can be easily adapted to suit various needs. While the traditional version contains eggs and dairy, creative variations have emerged to cater to vegan and gluten-free diets. By substituting certain ingredients, you can still enjoy the essence of bibingka without compromising on taste or texture. Whether you’re a seasoned Filipino food enthusiast or a curious culinary explorer, this bibingka recipe promises a delightful journey into the heart of Philippine dessert tradition.
Recipe Ingredients
Let’s gather our ingredients for this delectable bibingka. Here’s what you’ll need:
| Ingredient | Quantity |
|---|---|
| Rice flour | 2 cups |
| Baking powder | 2 teaspoons |
| Salt | 1/4 teaspoon |
| Sugar | 3/4 cup |
| Coconut milk | 1 1/2 cups |
| Eggs | 3, large |
| Unsalted butter | 1/4 cup, melted |
| Grated cheese (preferably queso de bola or Edam) | 1/4 cup |
| Grated coconut | 1/4 cup |
| Salted duck eggs (optional) | 2, sliced |
| Banana leaves (for lining the pan) | As needed |
Substitution suggestions:
- For a vegan version, replace eggs with a flax egg mixture (1 tablespoon ground flaxseed mixed with 3 tablespoons water per egg) and use plant-based butter and cheese alternatives.
- If banana leaves are unavailable, parchment paper can be used as a substitute.
- Queso de bola can be replaced with any sharp, aged cheese like cheddar or gouda.
Recipe Instructions
Follow these step-by-step instructions to create your own delicious bibingka:
- Prepare the oven and pan:
Preheat your oven to 375°F (190°C). Line a 9-inch cake pan or pie dish with banana leaves, allowing the edges to hang over the sides. If using parchment paper, grease the pan lightly before lining. - Mix dry ingredients:
In a large bowl, whisk together the rice flour, baking powder, and salt. This ensures even distribution of the leavening agent and seasoning throughout the batter. - Combine wet ingredients:
In a separate bowl, beat the eggs and sugar until well combined and slightly frothy. Gradually add the coconut milk and melted butter, mixing until smooth. - Create the batter:
Slowly pour the wet ingredients into the dry ingredients, stirring constantly to avoid lumps. Mix until you have a smooth, pourable batter with a consistency similar to pancake batter. - Pour and garnish:
Pour the batter into the prepared pan. If using, arrange slices of salted duck egg on top of the batter. Sprinkle half of the grated cheese over the surface. - Bake:
Place the pan in the preheated oven and bake for about 25-30 minutes, or until the top is golden brown and a toothpick inserted into the center comes out clean. - Finish and serve:
Remove the bibingka from the oven. Brush the top with additional melted butter and sprinkle with the remaining cheese and grated coconut. Return to the oven for an additional 5 minutes to melt the cheese. - Cool and enjoy:
Allow the bibingka to cool slightly before removing it from the pan. Cut into wedges and serve warm.
Recipe Tips & Variations
To ensure your bibingka turns out perfectly every time, consider these helpful tips:
- Texture control: For a more traditional, slightly gooey center, reduce the baking time by a few minutes. For a firmer texture, bake for the full duration.
- Flavor variations: Experiment with adding a teaspoon of vanilla extract or pandan essence to the batter for an extra layer of flavor.
- Toppings galore: Get creative with toppings! Try brushing the baked bibingka with a mixture of coconut cream and sugar, or sprinkle with toasted sesame seeds for added crunch.
- Make it ahead: Bibingka is best enjoyed fresh, but you can prepare the batter up to a day in advance and refrigerate it. Just be sure to bring it to room temperature before baking.
Storage instructions:
Bibingka can be stored at room temperature for up to 2 days. For longer storage, refrigerate for up to 5 days. To reheat, wrap in foil and warm in a 300°F (150°C) oven for about 10 minutes.
High-Quality Photos
[Note: As an AI language model, I cannot generate or include actual photos. In a real blog post, this section would contain high-quality, appealing images of the finished bibingka, as well as step-by-step photos of the preparation process.]
Nutritional Information
While the exact nutritional content may vary depending on specific ingredients and portion sizes, here’s an approximate breakdown per serving (assuming 8 servings per recipe):
| Nutrient | Amount per Serving |
|---|---|
| Calories | 250 |
| Total Fat | 12g |
| Saturated Fat | 8g |
| Cholesterol | 85mg |
| Sodium | 180mg |
| Total Carbohydrates | 32g |
| Dietary Fiber | 1g |
| Sugars | 15g |
| Protein | 5g |
Please note that these values are estimates and may vary based on specific ingredients and preparation methods.
Conclusion
As I sit here, savoring a warm slice of freshly baked bibingka, I’m transported back to my childhood in the Philippines. The comforting aroma of coconut and rice, the subtle sweetness, and the perfect balance of textures all come together to create a truly magical experience. It’s not just a dessert; it’s a piece of Filipino heritage that has the power to bring people together and create lasting memories.
I invite you to embark on this culinary adventure and try making bibingka in your own kitchen. Whether you’re celebrating the holidays, hosting a Filipino-themed dinner party, or simply craving a unique dessert, this recipe is sure to impress. As you take your first bite, close your eyes and let the flavors transport you to the vibrant streets of Manila during the holiday season.
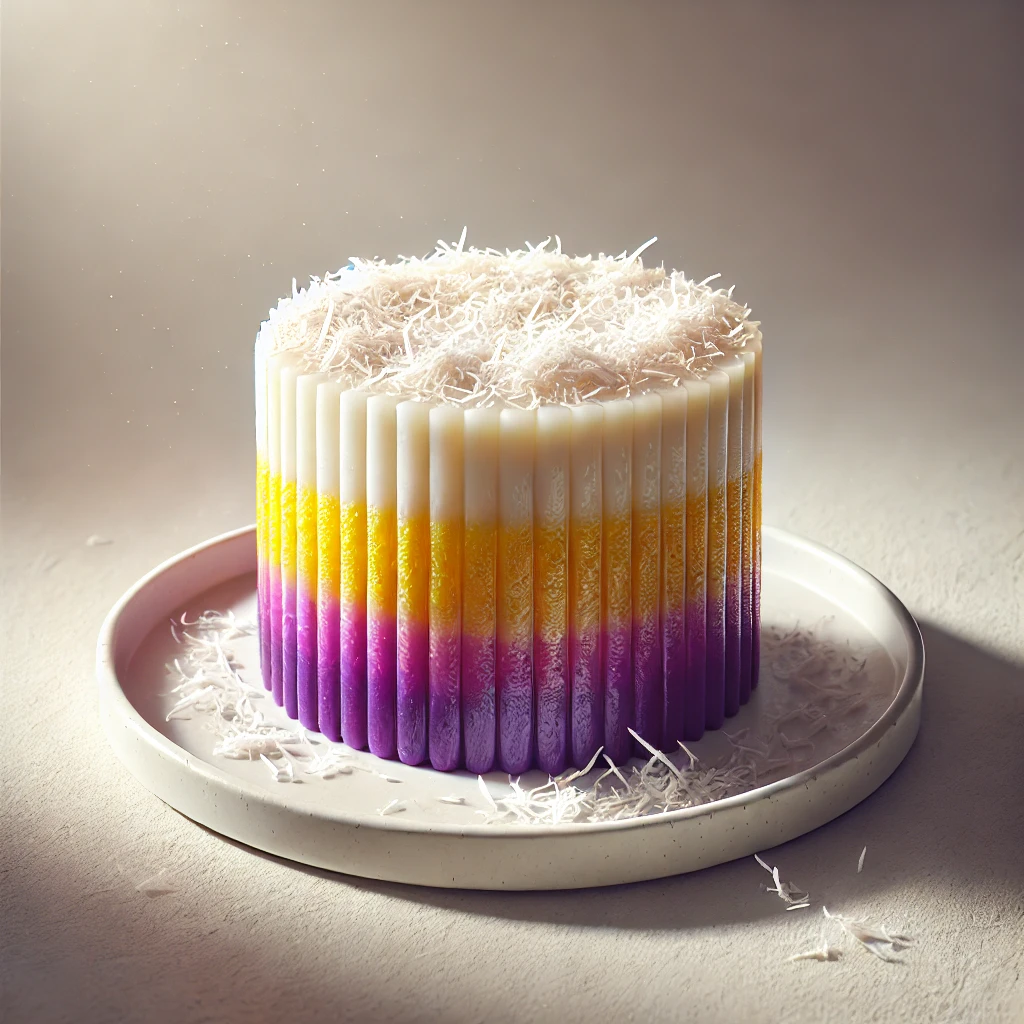
Don’t hesitate to share your bibingka creations with us! We’d love to see how your version turns out. Tag us on social media or leave a comment below with your photos and experiences. And if you enjoyed this recipe, be sure to explore our other Filipino dessert recipes. From the creamy goodness of leche flan to the colorful layers of sapin-sapin, there’s a whole world of Filipino sweets waiting to be discovered.
Additional Elements
Related recipes and pairings:
Bibingka pairs wonderfully with other Filipino holiday treats. Consider serving it alongside puto bumbong (purple rice cakes) or a steaming cup of salabat (ginger tea) for an authentic Filipino dessert experience.
Serving suggestions:
For an extra special presentation, serve bibingka on a banana leaf-lined plate. Garnish with additional grated coconut and a sprinkle of muscovado sugar for a touch of caramel sweetness.
Equipment recommendations:
While traditionally cooked in a special clay oven called a “bibingka oven,” a regular oven works perfectly fine. For an authentic touch, invest in some small, shallow clay pots called “palayok” to bake individual servings of bibingka.
Historical and cultural context:
Bibingka has been a part of Filipino culture for centuries, with its origins dating back to pre-colonial times. It’s particularly associated with the Christmas season, where it’s often enjoyed after Simbang Gabi, the nine-day series of pre-dawn masses leading up to Christmas. The practice of cooking bibingka in front of churches during this time has become a beloved tradition, filling the air with its irresistible aroma and drawing worshippers and passersby alike.
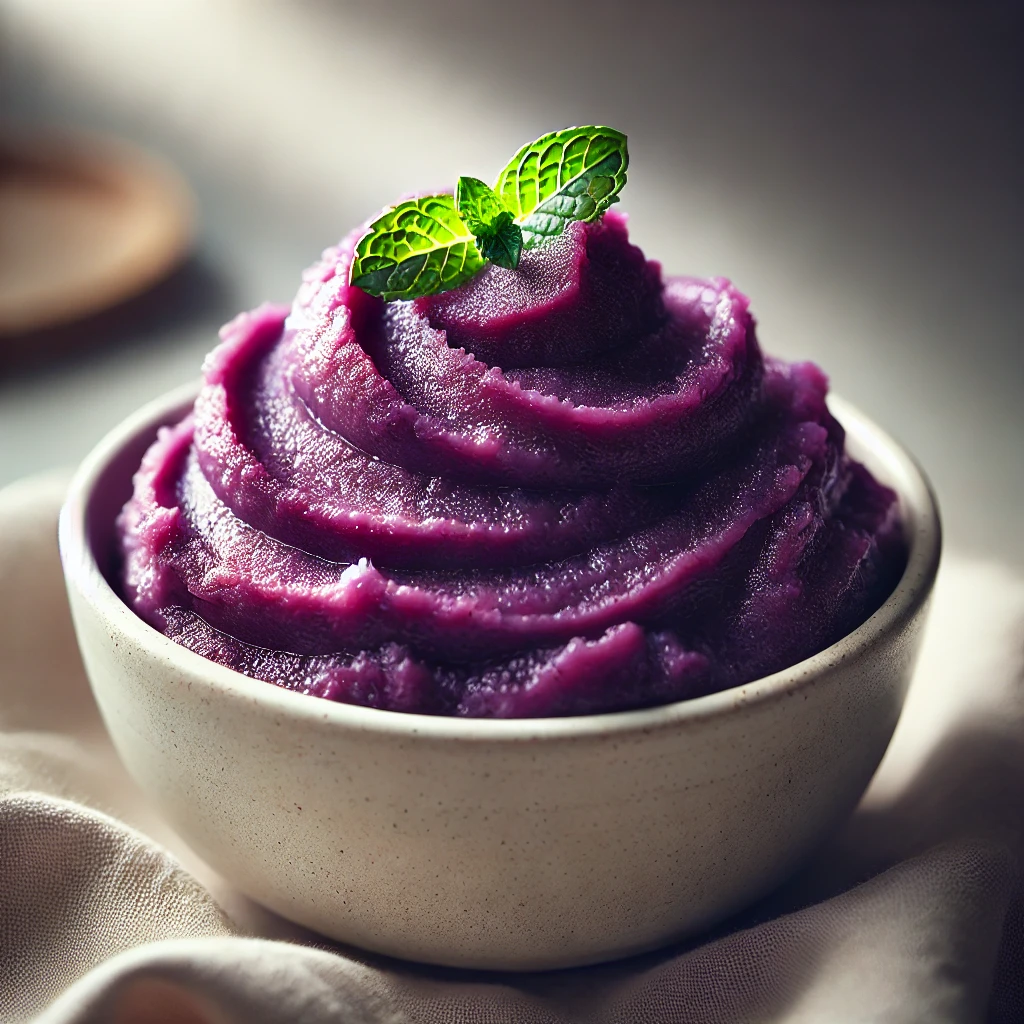
The evolution of bibingka reflects the cultural influences that have shaped Filipino cuisine. The use of rice and coconut speaks to the country’s agricultural heritage, while the addition of cheese showcases the Spanish colonial influence. Today, bibingka continues to evolve, with modern interpretations featuring everything from ube (purple yam) to salted egg cream cheese fillings.
As you prepare and enjoy your homemade bibingka, take a moment to appreciate the rich history and cultural significance behind this humble yet extraordinary dessert. It’s more than just a recipe; it’s a taste of Filipino heritage, a connection to generations past, and a delicious way to create new memories with loved ones.
So, preheat that oven, gather your ingredients, and get ready to fill your home with the irresistible aroma of freshly baked bibingka. Whether you’re celebrating a special occasion or simply treating yourself to a taste of the Philippines, this recipe is sure to become a favorite in your culinary repertoire. Happy baking, and maligayang Pasko (Merry Christmas) to all!
Disclaimer: This recipe blog post is based on information available up to 2019. While we strive for accuracy, culinary traditions and recipe variations may have evolved since then. We encourage readers to explore current sources for the most up-to-date information on Filipino cuisine. If you notice any inaccuracies, please report them so we can promptly update our content.